Scrunchies
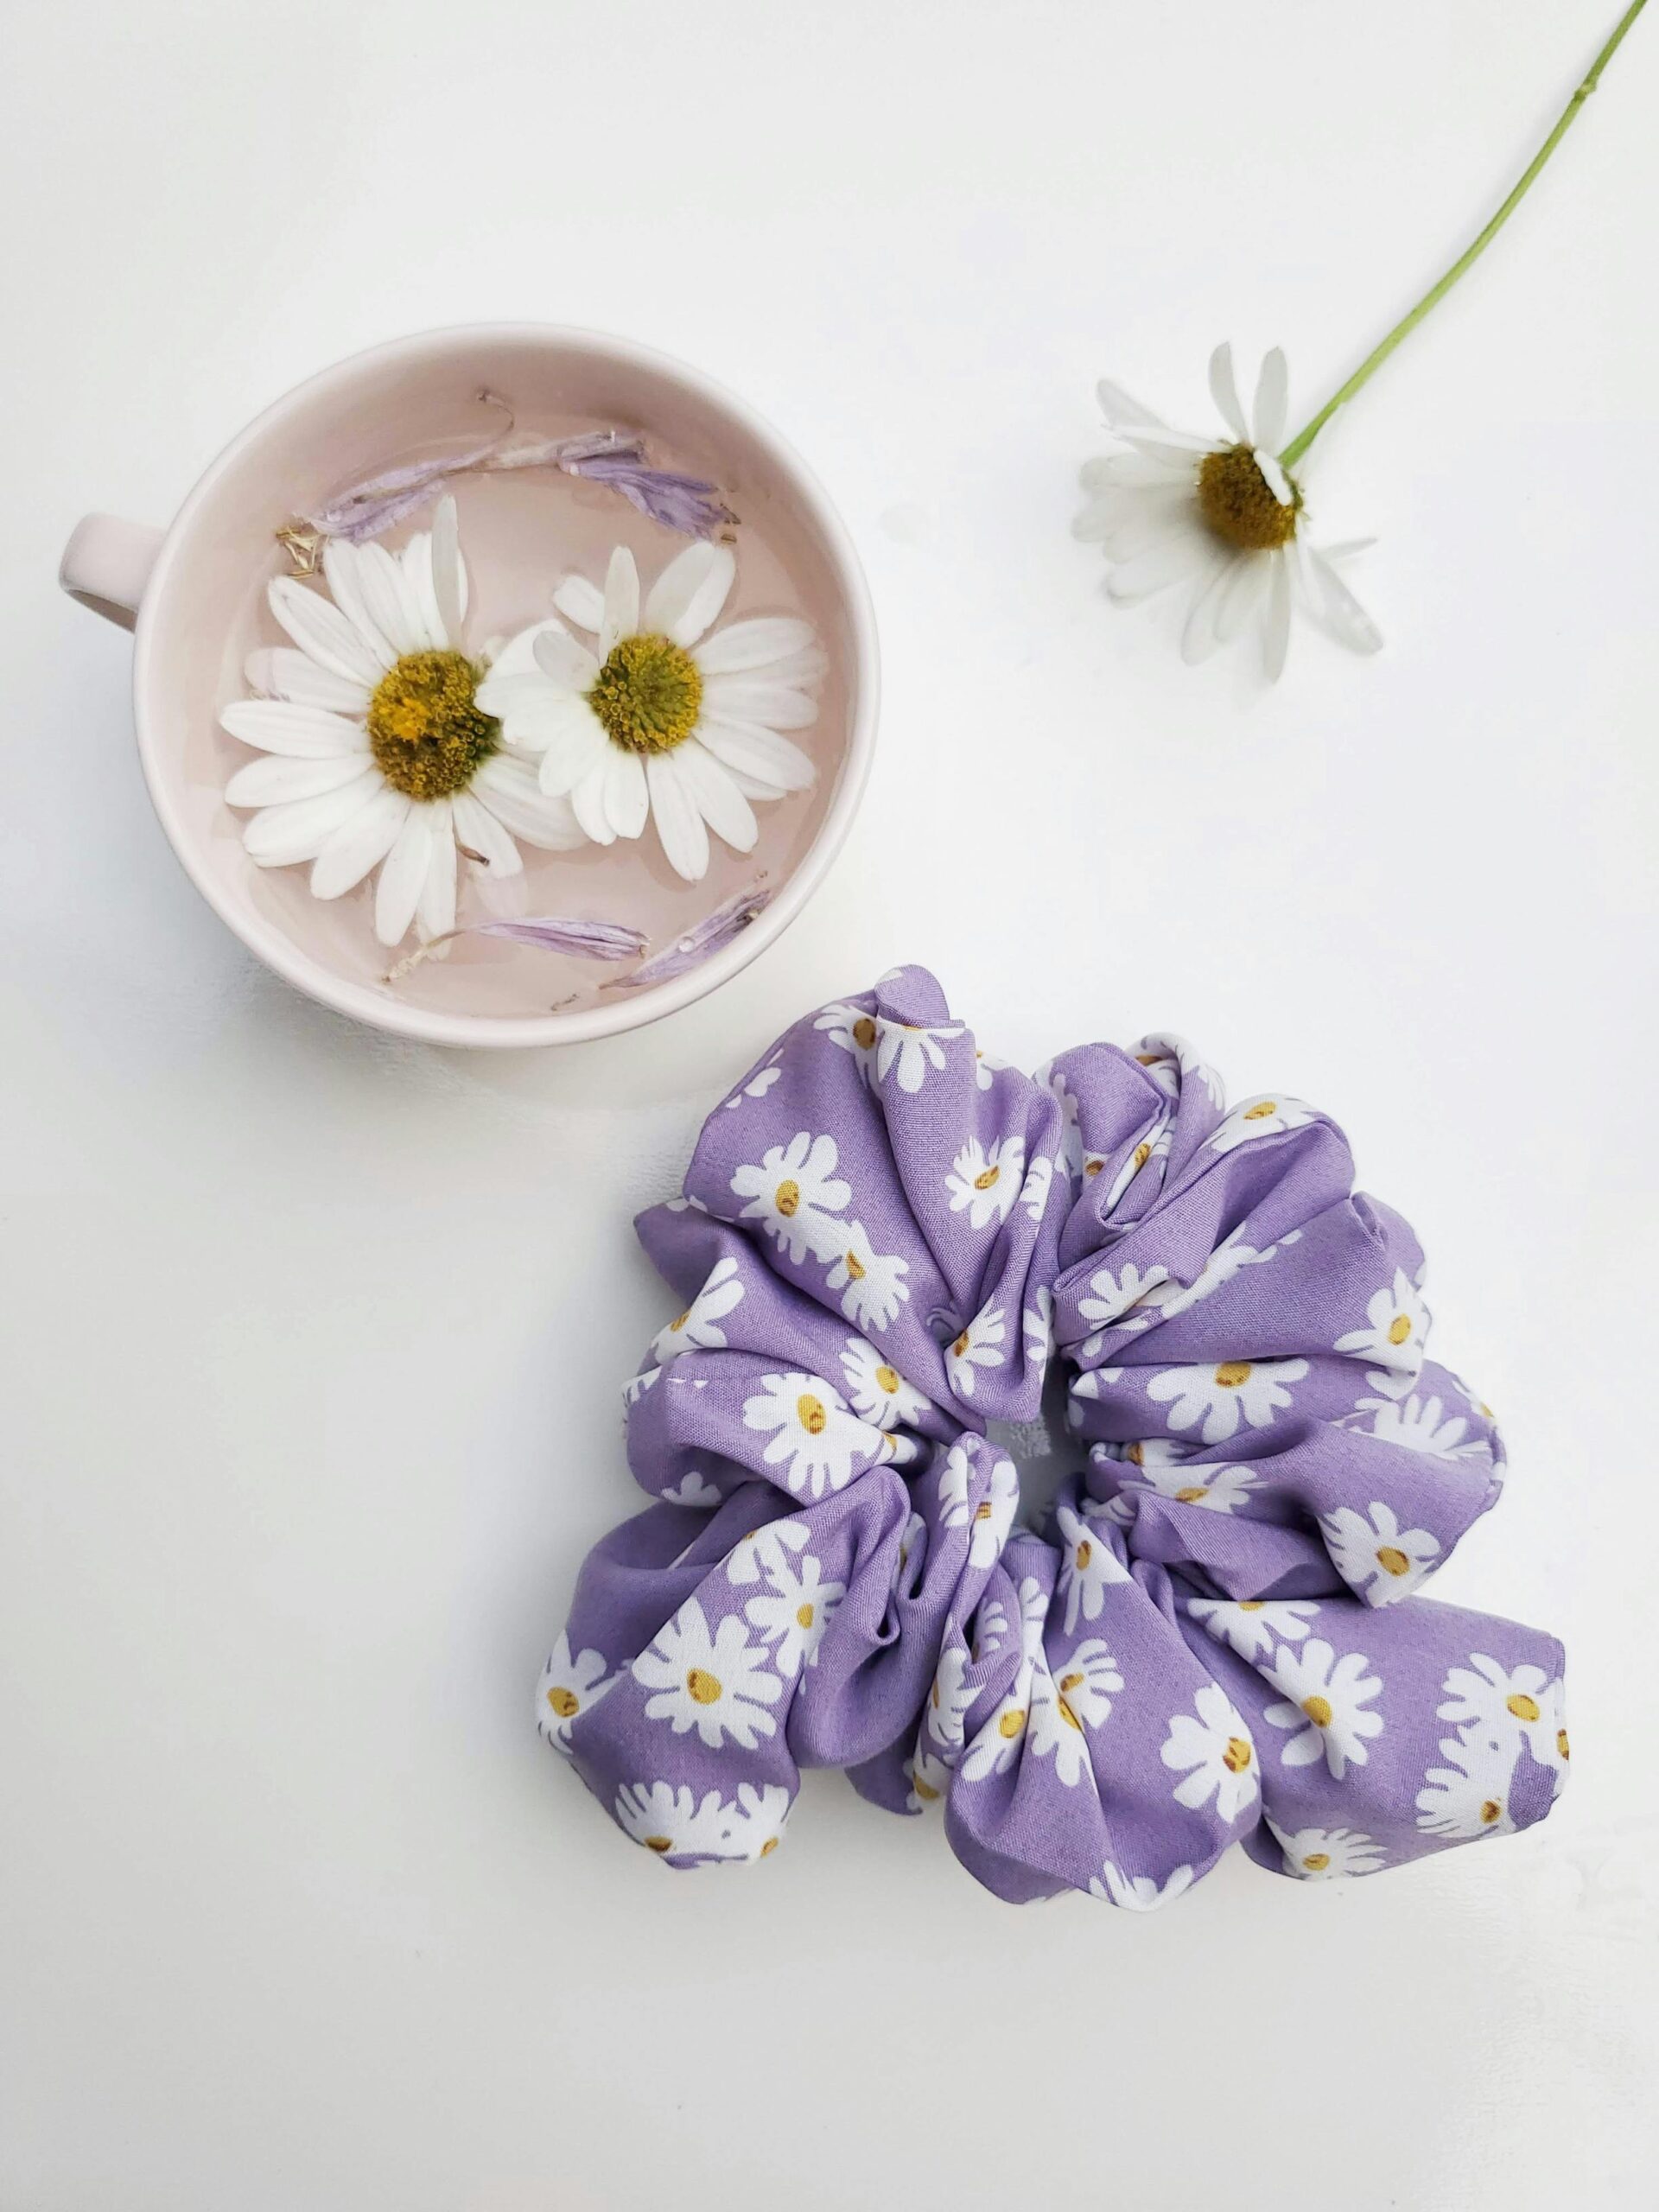
How to make Scrunchies
Materials Needed
Fabric (cotton, satin, or velvet works best).
Elastic band (6–8 inches, depending on the size you want).
Needle and thread or a sewing machine.
Scissors.
Safety pin.
Ruler or measuring tape.
Optional: Fabric glue (for a no-sew version).
Steps to Make a Scrunchie
- Cut the Fabric
Cut a piece of fabric measuring 3–4 inches wide and 18–22 inches long.
For a fuller scrunchie, use longer fabric.
Adjust the width for thinner or thicker scrunchies.
- Fold and Sew the Fabric
Fold the fabric lengthwise with the right sides facing one another, meaning the patterned side in.
Sew the long edge making sure to leave a seam allowance of about 1/4 inch.
One can use the sewing machine or sew by hand using a straight stitch.
You are going to get a tube of fabric.
- Turn the Fabric Right Side Out
Turn the tube of fabric right side out using a safety pin or chopstick.
- Insert the Elastic
Take a safety pin and attach it to one end of the elastic.
Insert the elastic through the fabric tube, holding onto the other end so that it does not pull all the way through.
- Tuck in the Elastic
Insert the elastic and tie the ends in a knot or sew them together for a better grip.
- Close the Scrunchie
Roll one end of the fabric tube to the other end to hide the raw edges.
Sew or use fabric glue to close the two ends of the fabric.
- Finishing Steps
Distribute the fabric evenly to balance the fluffy and puffy look around the elastic.
Why Home made scrunchies?
Eco-friendly handmade scrunchies are a stylish and sustainable alternative to regular hair ties. Made with natural, upcycled, or organic materials, they help reduce waste while keeping your hair healthy.
